I would normally make a tart like this with summer berries, but these late summer plums were so ripe and juicy that I thought I try something different. The result was proclaimed absolutely delicious.
I make pastry from scratch and freeze it in double quantities; likewise the creme patissiere (pastry cream custard filling) so that I can whip up desserts like this with little effort.
If you don’t own a rolling pin, a red wine bottle will do. And don’t be deterred from taking the extra step of making pastry from scratch; its dead easy if you have a food processor and the end result is well worth it!
You’ll need a fluted, loose-based tart tin that’s 1 inch (2cm) deep and 10 inches (25 cm) across.
Note: As an experiment, I made this entirely with monk fruit sugar – a natural calorie-free alternative to regular sugar. Despite feeling mildly anxious, nobody could tell the difference.
Monk fruit sugar is sweeter than regular sugar, so you may want to cut back slightly on the quantities listed here.
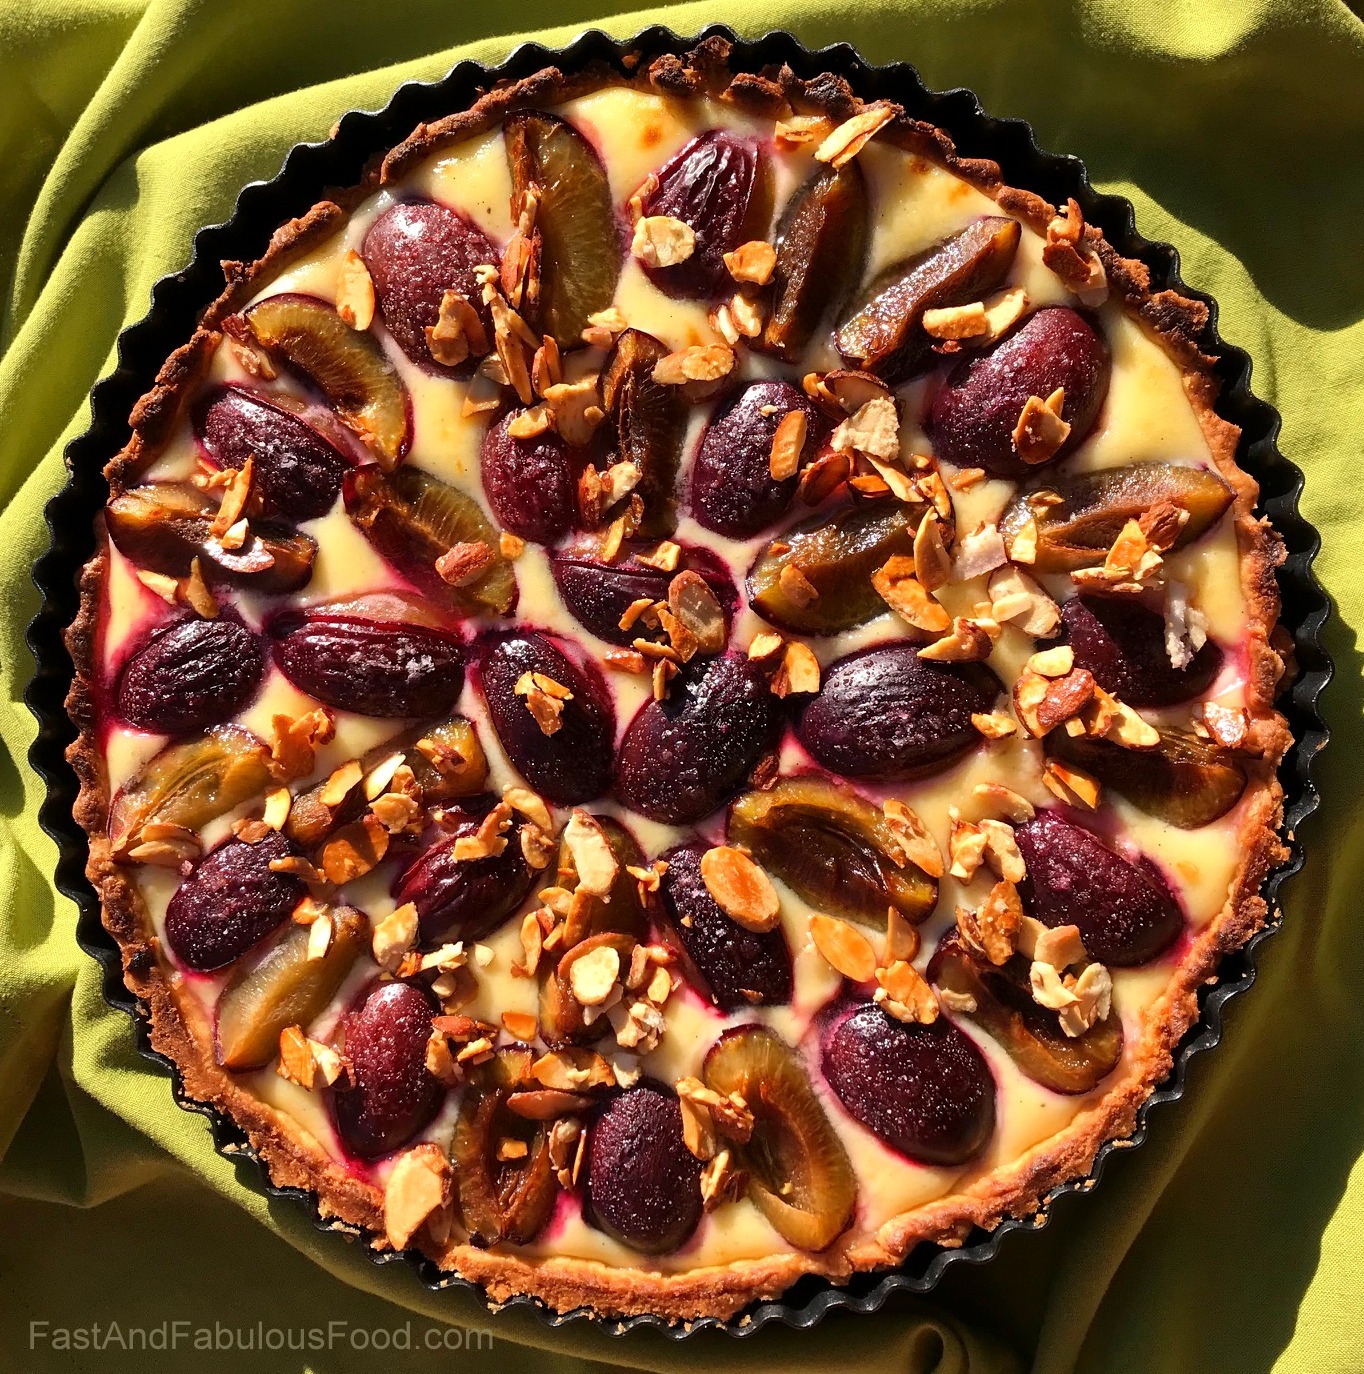
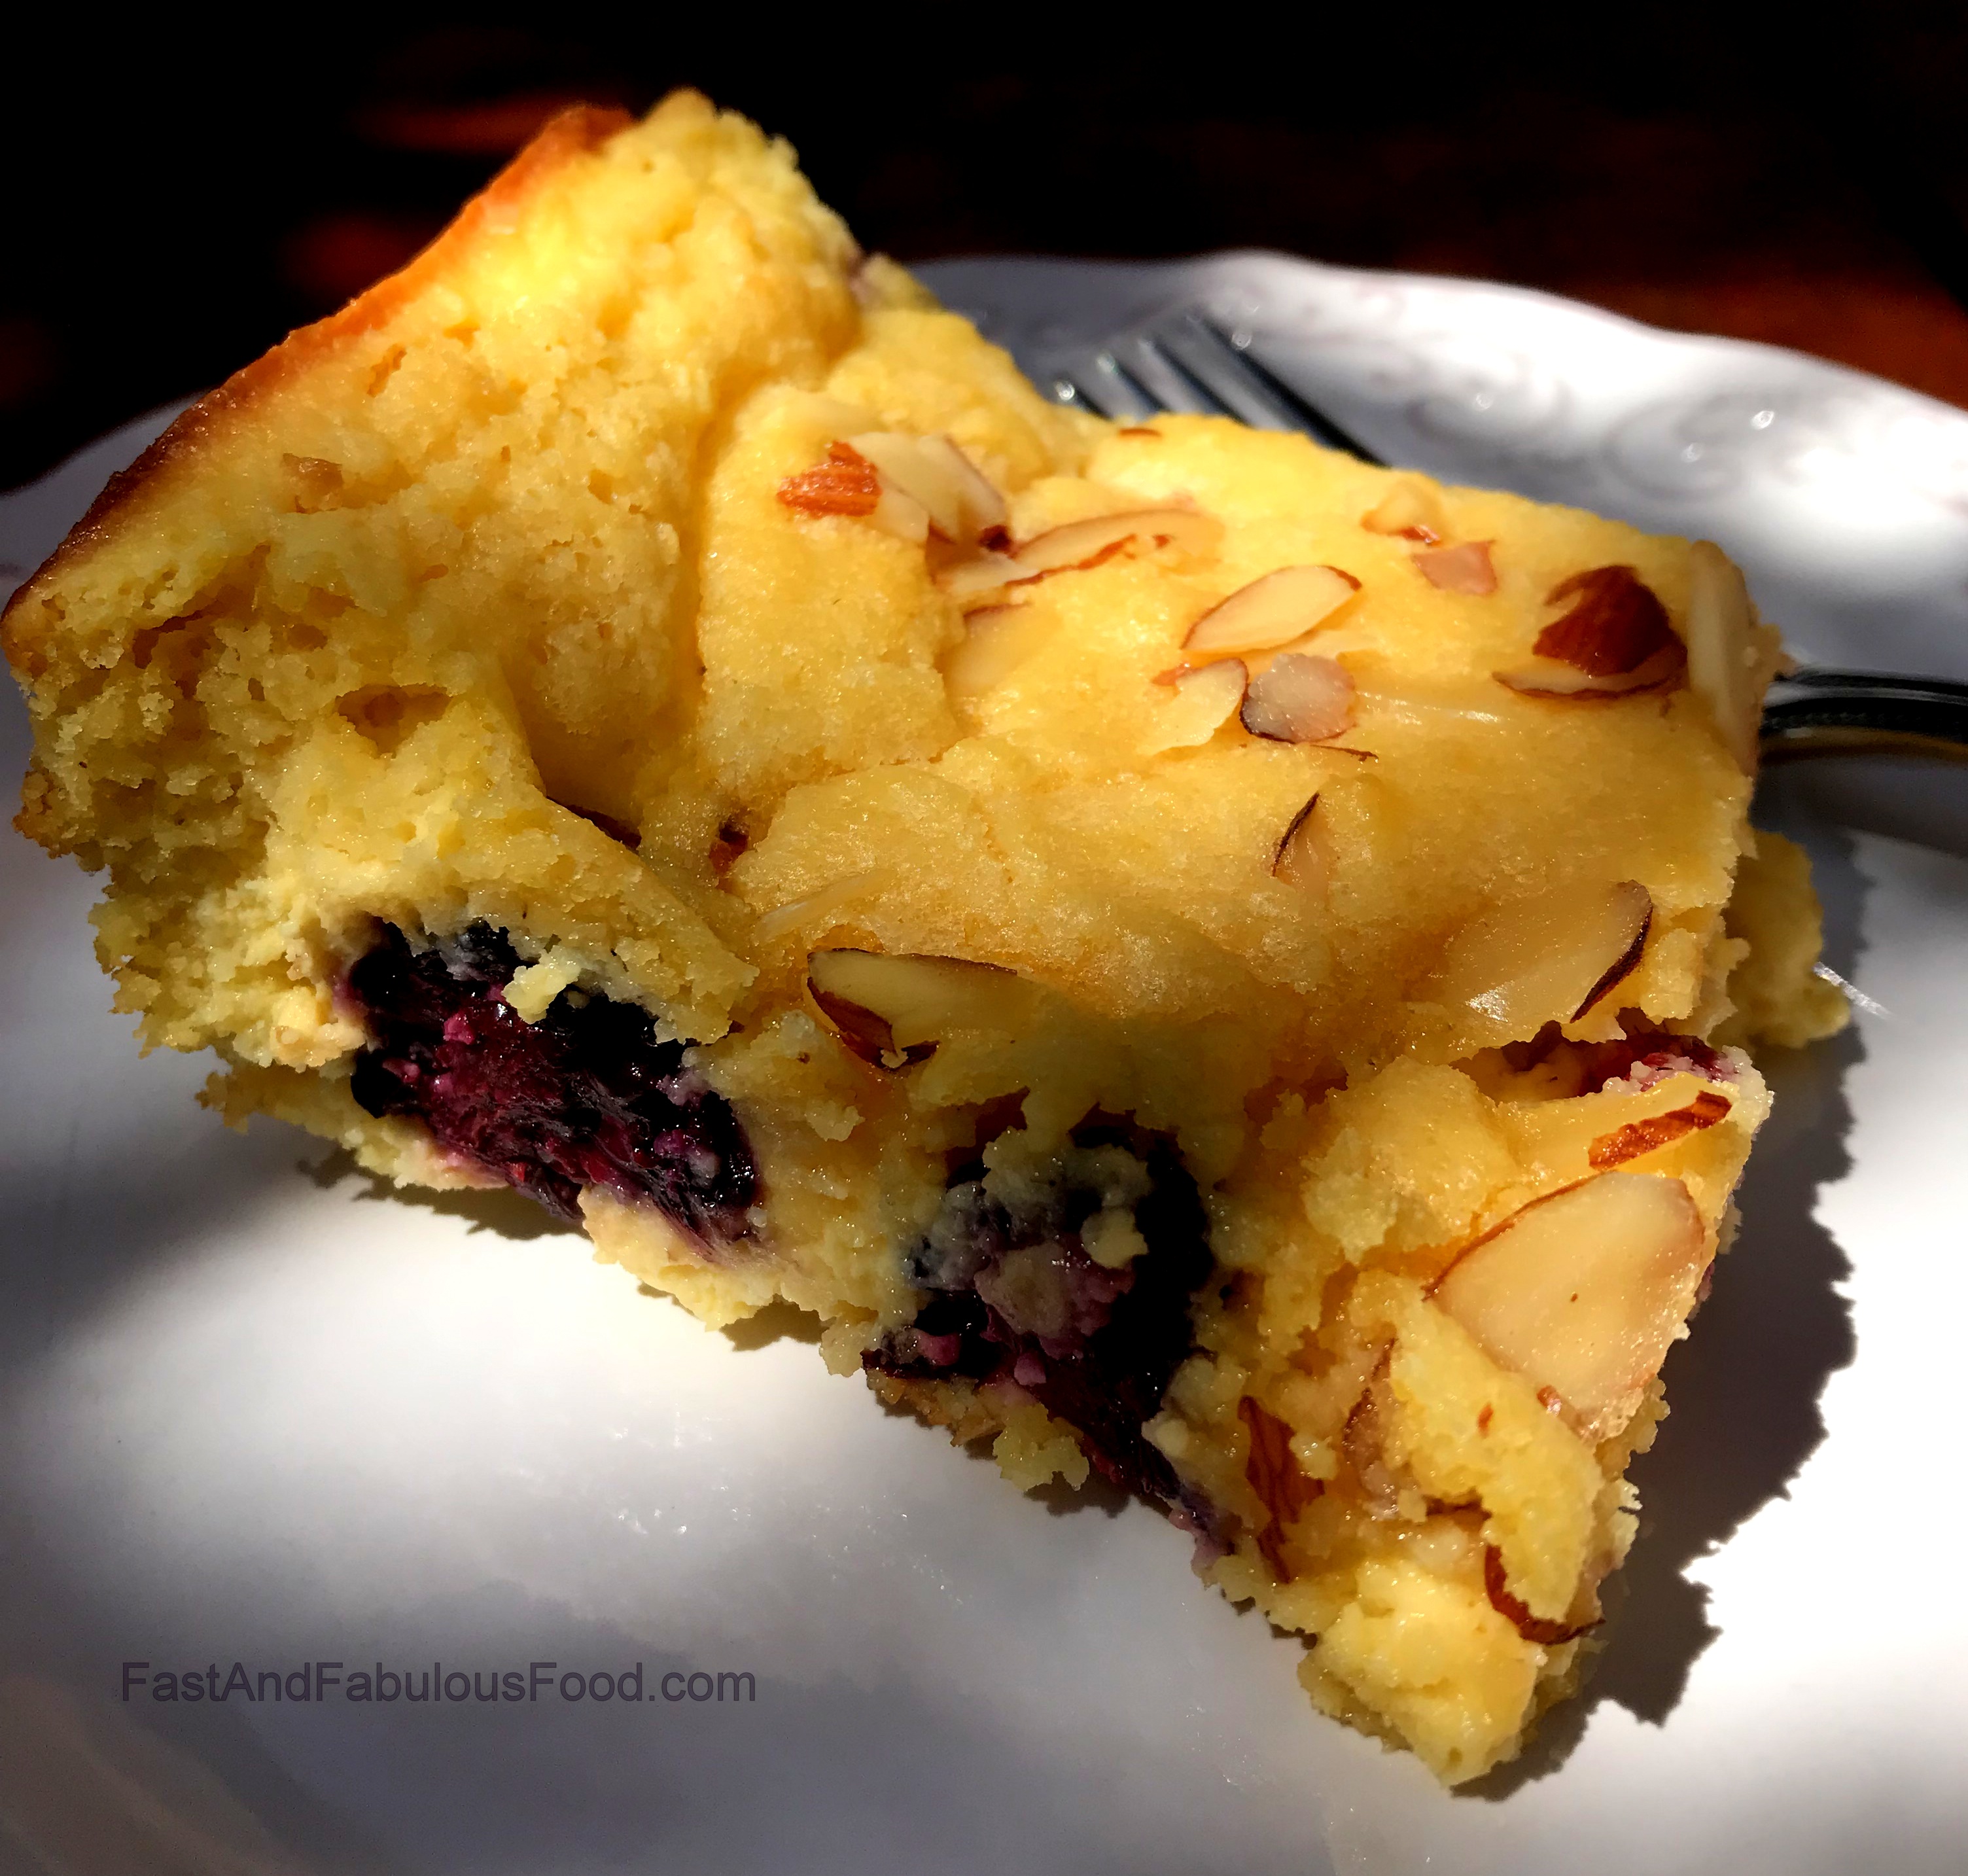
Plum & Almond Custard Tart
PLUM and ALMOND CUSTARD TART
(Serves 8-10)
Ingredients:
1lb (454g) stoned-weight of very ripe plums, peaches or apricots
A small handful of flaked almonds, lightly toasted
For the pastry:
8 oz (227g) of all-purpose (plain) flour
2 tablespoons of fine white sugar
Pinch of salt
6 oz (142g) of chilled unsalted butter, cut into small pieces
Approx 3 tablespoons of iced water
1 large egg yolk
1 teaspoon of pure vanilla extract
For the almond pastry cream filling:
2 cups (500ml) of full cream milk or half & half
A vanilla bean, split lengthwise
2.3oz (66g) of white sugar
1.5oz (40g) of all-purpose/plain flour
2 large eggs
1/2 teaspoon of pure almond extract
Action:
Make the pastry 24 hrs ahead if you can.
Start by combining the flour, sugar and salt in a processor. Pulse a few times the add the butter pieces. Continue to pulse until it has a fine breadcrumb consistency. Add the egg yolk, vanilla and 3 tablespoons of ice-cold water. Pulse again until you have large clumps, adding a little more water at a time if necessary, until you do. Scoop the pastry into a ball and flatten it into a disc. Wrap it with cling film and refrigerate for at least 2 hours or preferably overnight.
Make the custard filling next:
In a heavy based saucepan, whisk together the flour, eggs and sugar until it’s pale and a bit voluminous.
In a separate saucepan, heat the milk slowly. Scrape the seeds from the vanilla pod into the milk and the moment it comes to a simmer, take it off the heat and pour a little into the flour and egg mixture, whisking as you go. Add a little more, whisking all the time until you’ve added it all. Put the pan back on the heat and stir continuously until it thickens – take it off the heat the moment it boils. Stir in the almond extract and transfer the custard to a bowl. Drape a sheet of cling film over the top surface to prevent a skin from forming. Chill it completely.
To make the pastry base:
Preheat the oven to 375F/190C. Bring the pastry to room temperature. Roll it out (I like to roll it between two sheets of cling film so I don’t need to flour the board) and carefully transfer it to the tart pan, pushing it gently into place. Leave about 1/4 inch (1/2cm) overhanging the top of the pan. Using a fork, prick the base all over, then stick it in the freezer for 15 minutes.
After 15 minutes, bake it in the preheated oven for 15 minutes. Check to see if the pastry is shrinking from the sides of the tart tin – if it is, just push it gently back in place with a fork. Bake for another 12-15 minutes, remove it from the oven and allow to cool.
To assemble the tart:
Spread the pastry cream into the pastry case. Slice the plums into quarters, toss them in half a teaspoon of sugar and arrange on top of the pastry cream. Flash it under a hot grill for a couple of minutes (watching very carefully as you don’t want the pastry to burn). Scatter the top with flaked almonds.
This tart is best served chilled.


")


")


